Which miso should you make first?
- White miso (shiro miso) — 1:1 soybean-to-koji ratio, 5-6% salt. Ready in 4-8 weeks. The best first batch: fast feedback, forgiving ratios, mild sweet flavor.
- Red miso (aka miso) — 1:0.6 soybean-to-koji ratio, 10-13% salt. Needs 6-12 months. Deeper, more savory. Same process, more patience.
- Barley miso (mugi miso) — uses barley koji instead of rice koji. 8-14 months. Earthier, slightly grainy. Less common but worth exploring after your first rice-koji batch.
All three follow the same steps below. The ratios table in the ingredients section gives exact weights for each style. If you are unsure, white miso is the answer.
What You Need: Ingredients by Miso Type
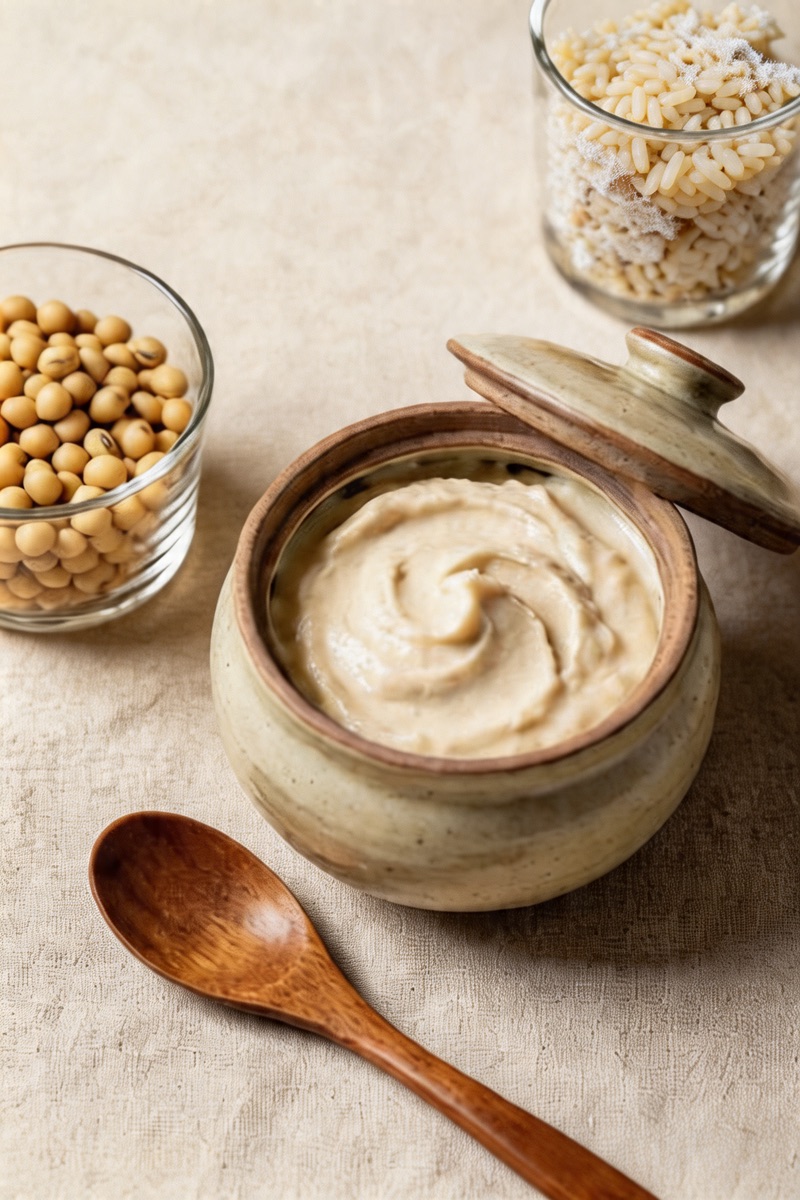
Every miso uses the same three ingredients. The ratios determine whether you get a sweet, light paste in a month or a dark, complex one in a year. All weights below are for a 1kg finished batch — scale proportionally.
| Miso type | Dry soybeans | Rice koji | Salt | Fermentation |
|---|---|---|---|---|
| White (shiro) | 250g | 500g | 50g (5-6%) | 4-8 weeks |
| Red (aka) | 400g | 300g | 100g (10-13%) | 6-12 months |
| Barley (mugi) | 350g | 350g (barley koji) | 90g (10-12%) | 8-14 months |
Why the ratio matters: koji produces enzymes (proteases and amylases) that break soybeans down into amino acids and sugars. More koji means faster, sweeter fermentation. Less koji means slower development and a stronger savory character. The salt percentage controls the speed of fermentation and prevents spoilage — too little and the batch is vulnerable, too much and fermentation stalls.
For the full comparison of white vs red miso flavor, uses, and when to choose each one → White Miso vs Red Miso. For what miso is and how it fits into Japanese cooking → What Is Miso.
Equipment
You need a pot, a masher, a fermentation container, and a weight. Nothing specialized is required for a first batch:
- Large pot or pressure cooker — for cooking soybeans. A pressure cooker reduces cooking time from 3 hours to 45 minutes. A regular stockpot works fine if you have the time.
- Potato masher or food processor — for mashing cooked beans. A potato masher gives a rustic texture with some whole bean fragments. A food processor produces a smooth paste. Both work; the choice is stylistic.
- Fermentation container — wide-mouth glass jar (2L for a 1kg batch), ceramic crock, or food-safe plastic container. Must be non-reactive, wide enough to pack firmly, and have room for a weight on top.
- Weight and cover — a plate or lid that fits inside the container, topped with a clean 0.5-1kg weight (a sealed zip-lock bag of salt works perfectly). Plastic wrap pressed directly onto the miso surface underneath the weight.
- Kitchen scale — miso ratios are by weight. Measuring salt by volume introduces 20-30% error because grain sizes vary.
Find a fermentation crock for miso on Amazon →
Where to Get Koji for Miso
You do not need to grow koji from scratch for your first miso batch. Buy ready-made dried rice koji (kome koji, 米麹) and save the koji-growing project for later:
- Cold Mountain (Miyako) — the most widely available brand in the US. Found at Japanese grocery stores and Amazon. Dried rice koji, ready to use.
- Hanamaruki — available at Japanese grocery stores, slightly softer grain. Works identically to Cold Mountain.
- Fresh homegrown koji — grow your own from Aspergillus oryzae spores if you want maximum enzyme activity and full process control. Fresh koji is slightly more potent than dried, but dried koji works excellently for home miso.
For the full koji-growing process → How to Make Koji. For background on what koji is and how its enzymes work → What Is Koji.
Find dried rice koji (kome koji) on Amazon →
Step 1 — Soak the Soybeans (12-18 Hours)
Sort through the dry soybeans and discard any that are cracked, discolored, or shriveled. Rinse thoroughly. Cover with at least 3x their volume in cold water — the beans will roughly double in size overnight.
Soak for 12-18 hours at room temperature. The beans are ready when you can split one cleanly with your thumbnail and the interior is uniformly pale yellow with no dry white core. Under-soaked beans cook unevenly, which creates gritty patches in the finished miso.
In hot weather (above 28°C), soak in the refrigerator to prevent the water from turning sour. Drain and rinse the beans before cooking.
Step 2 — Cook Until Easily Crushable (45 Min - 3 Hours)
The beans must be soft enough to crush between your thumb and pinky finger with almost no resistance. This is softer than you might expect — think the texture of a cooked potato, not a firm chickpea.
- Pressure cooker: 45 minutes at full pressure after the water comes to a boil. Release pressure naturally. This is the fastest method and produces consistently soft beans.
- Stovetop: 2.5-3 hours at a gentle simmer, skimming foam as it rises during the first 30 minutes. Top up water if it drops below the bean level. More hands-on, but no special equipment.
Save 100-200ml of the cooking liquid (called tane-mizu in Japanese). You will use it to adjust the moisture of the mash if it is too dry after mixing. Drain the beans and let them cool to below 40°C before combining with koji — hot beans can damage the koji enzymes.
Step 3 — Mash the Soybeans
Mash while the beans are still warm (not hot). Warm beans mash much more easily than cold ones.
- For smooth miso: use a food processor or immersion blender. Process until the paste has no visible whole bean fragments. This is standard for white miso.
- For chunky miso (tsubu miso): use a potato masher or put the beans in a zip-lock bag and crush with a rolling pin. Leave about 20-30% of the beans in visible pieces. This rustic texture is traditional in some regional red miso styles.
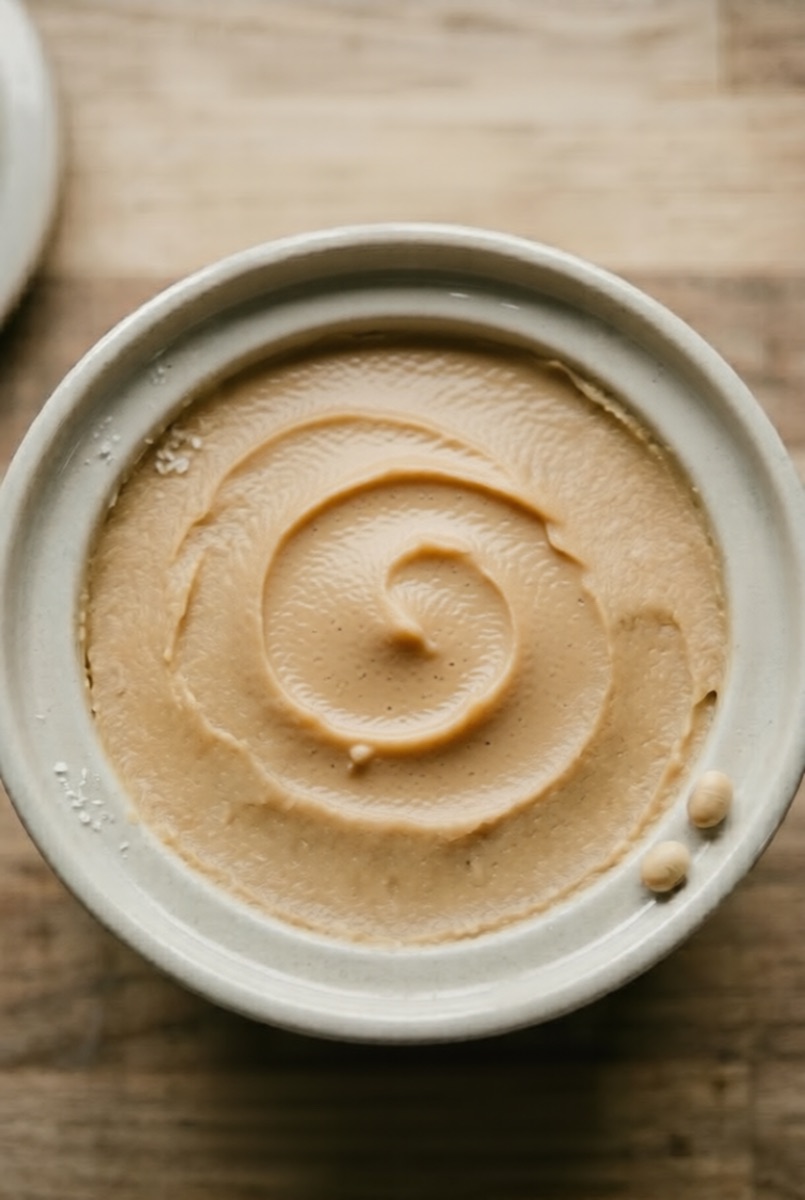
The target consistency is a dense, cohesive paste that holds together when you press a handful — similar to thick hummus. If it crumbles apart, it needs more mashing or a splash of the reserved cooking liquid.
Step 4 — Mix the Koji and Salt
While the soybeans cool, combine the koji and salt in a separate bowl. Rub them together with your hands for 2-3 minutes until every koji grain is lightly coated with salt. This is called shio-kiri koji (塩切り麹) — salt-cut koji.
Why mix salt with koji first? Salt distributed through the koji ensures even fermentation from the start. If salt is added separately after combining koji and soybeans, pockets of high and low salt concentration form. High-salt pockets stall fermentation; low-salt pockets risk spoilage.
Once the soybeans have cooled to below 40°C, add the salted koji to the bean mash and mix thoroughly. Use your hands — it takes 3-5 minutes to achieve a uniform mixture with no visible clumps of unmixed koji or plain bean paste. The final mixture should be moist enough to hold together when you form a ball, like making a rice ball (onigiri). If it is too dry, add reserved cooking liquid one tablespoon at a time.
Step 5 — Pack the Container
Trapped air is the enemy. Air pockets create conditions where unwanted mold and bacteria can grow inside the paste rather than only on the exposed surface.
- Wipe the inside of the container with a cloth dampened with shochu, vodka, or food-grade ethanol (35%+). This is not sterilization — it is surface hygiene for the areas miso will contact.
- Form the miso into balls about the size of a tennis ball. Throw each ball firmly into the container from 15-20cm above — the impact compresses the paste and forces out trapped air. This technique is called miso dama (味噌玉).
- Press each layer flat before adding the next ball. Use your fist or the back of a spoon. Work from the center outward, pressing extra firmly where the miso meets the container wall — gaps at the edges are the most common air-pocket location.
- Level the top surface when the container is full. Sprinkle a thin layer of salt (about 1 teaspoon per 10cm diameter) over the surface — this extra salt discourages surface mold.
Step 6 — Cover, Weight, and Store
Press a sheet of plastic wrap directly onto the miso surface, pushing out all air bubbles between the wrap and the paste. Place a plate or lid that fits snugly inside the container on top of the wrap, then add a weight.
Weight guideline: use 20-30% of the total miso weight. For a 1kg batch, a 200-300g weight is sufficient. A sealed zip-lock bag filled with salt works well because it conforms to the surface. A clean rock or a small plate with a jar of water on top also works.
Store at 15-25°C in a location with minimal temperature swings. A basement, closet, or pantry shelf away from direct sunlight is ideal. Higher temperatures (closer to 25°C) speed fermentation — useful for white miso, which benefits from a shorter timeline. Lower temperatures (15-18°C) slow things down and are better for the gradual development red miso needs.
Do not refrigerate during fermentation. The cold effectively stops koji enzyme activity and halts the process. Refrigeration is for storage after the miso reaches your desired flavor.
Step 7 — Fermentation Timeline and When to Check
| Timeline | What to expect | Action |
|---|---|---|
| Week 1-2 | No visible change. Koji enzymes begin breaking down soy proteins. Liquid (tamari) may start pooling on the surface. | Leave undisturbed. Do not open to check. |
| Month 1-2 | Color begins to shift. White miso reaches a pale golden tone. Aroma shifts from raw-bean to mildly sweet and fermented. | First check at 4 weeks for white miso. Taste a small amount from the edge. |
| Month 3-6 | Red miso enters its development phase. Color deepens from tan to reddish-brown. Flavor moves from salty-beany to savory-complex. | Check every 4-6 weeks. Scrape any surface mold. Taste to track development. |
| Month 6-12 | Red miso reaches maturity. Deep brown color, strong umami, complex aroma. Tamari liquid on top is a bonus condiment. | Taste monthly. Move to refrigerator when flavor is right. |
The tamari liquid that pools on top during fermentation is essentially soy sauce — it is delicious. You can skim it off and use it for cooking, or stir it back into the miso before use.
What Affects Miso Flavor: The Six Variables
Once you understand the process, these are the levers you adjust to shape the result:
- Koji ratio — more koji (1:1) produces sweeter, faster-developing miso. Less koji (1:0.6) produces firmer, slower, more savory miso. The koji ratio is the single biggest flavor lever.
- Salt percentage — 5-6% for white, 10-13% for red. Salt controls fermentation speed and microbial stability. Lower salt needs less time but is less forgiving.
- Temperature — 20-25°C is the standard range. Warmer accelerates; cooler slows. Avoid sustained temperatures above 30°C, which can produce off-flavors and encourage unwanted bacterial activity.
- Time — there is no substitute. A batch that tastes merely beany at 2 months may taste excellent at 5 months. Patience is the least expensive ingredient.
- Mash texture — smooth paste produces uniform miso. Chunky mash produces tsubu miso with a rustic character. Both are correct; it is a style choice.
- Bean treatment — boiled soybeans produce lighter-colored miso. Steamed soybeans (especially for red miso) develop more Maillard browning and a deeper color from day one.
Troubleshooting: What Goes Wrong and Why
- Surface mold (white film) — harmless koji re-growth or yeast. Scrape off, wipe container walls with alcohol, re-cover with fresh plastic wrap, and replace weight. Prevention: ensure plastic wrap contacts the entire miso surface with no air gaps.
- Surface mold (colored — green, black, pink) — contamination. Scoop the mold plus a 2cm margin of clean miso around it. If contamination is surface-only, the rest of the batch is safe. If colored mold extends deeper than 1cm, the risk increases — discard if in doubt.
- Miso too dry, crumbly texture — insufficient moisture in the mash, or the soybeans were undercooked. For the current batch, mix in reserved cooking liquid (tane-mizu) one tablespoon at a time. For next time, cook the beans softer and check mash consistency before packing.
- Miso too wet, liquid pooling excessively — normal up to a point. Tamari (liquid) pooling on the surface is expected and desirable. If the entire paste is soupy, the soybeans were too wet when mashed. The batch will still ferment safely but the texture will be loose. Add a slightly heavier weight to compress the paste.
- Strong alcohol smell — yeast activity is dominating over koji enzyme activity. Usually caused by too-warm storage (above 28°C) or too-low salt. The alcohol smell often mellows with further aging. If the smell is sharp and persistent, the batch may have been under-salted.
- No flavor development after 3 months (red miso) — storage temperature may be too cold (below 15°C), effectively pausing fermentation. Move to a warmer location (20-22°C). Also verify the koji was active — old or improperly stored dried koji can have reduced enzyme potency.
For the full mold identification reference with color photos and discard rules → Fermentation Mold Safety. For broader fermentation troubleshooting → Fermentation Troubleshooting.
How to Store and Use Finished Miso
When the miso reaches your desired flavor depth, transfer it to smaller airtight containers and refrigerate. Cold storage effectively stops further fermentation, preserving the flavor at the point you like it.
- Refrigerator: keeps for 1 year or longer. The flavor will continue to develop very slowly even in the cold, but at a fraction of the room-temperature rate.
- Freezer: miso does not freeze solid because of its salt content. It becomes a thick, scoopable cold paste. Freezing halts all fermentation and enzyme activity. Suitable for long-term storage of large batches.
- Room temperature (continued aging): if you want the miso to keep developing, leave it at room temperature. Check monthly. Red miso can age for 2-3 years, gaining progressively deeper flavor.
Use homemade miso exactly as you would store-bought — in miso soup, marinades, glazes, salad dressings, and as a seasoning paste. Taste first, because homemade miso salt levels vary by batch. Start with half the amount a recipe calls for and adjust.
For detailed uses of miso in cooking → How to Use Miso. For how miso compares to shio koji as a fermented seasoning → Miso vs Shio Koji.
Find organic soybeans for miso on Amazon →
Frequently asked questions
- What is the soybean-to-koji ratio for homemade miso?
- For white miso (shiro miso): use a 1:1 ratio of cooked soybeans to rice koji by weight, with 5-6% salt by total weight. This high-koji ratio produces a sweet, mild paste ready in 4-8 weeks. For red miso (aka miso): use a 1:0.6 ratio of soybeans to koji with 10-13% salt. The lower koji and higher salt slows fermentation and produces the deep, savory paste that needs 6-12 months. These ratios are by weight of cooked (not dry) soybeans.
- How long does homemade miso take to ferment?
- White miso (shiro miso): 4-8 weeks at room temperature (20-25 C). It is ready when the paste tastes sweet and mildly salty with no raw-bean flavor. Red miso (aka miso): 6-12 months minimum, with some batches benefiting from 18 months. Barley miso (mugi miso): 8-14 months. Warmer environments (25 C) speed fermentation; cooler basements (15 C) slow it down but often produce more complex flavor. Taste monthly after the minimum time and stop aging when the flavor is where you want it.
- Can I make miso without growing koji from scratch?
- Yes — and this is the recommended approach for a first batch. Buy ready-made dried rice koji (kome koji) from a Japanese grocery store or online (Cold Mountain and Hanamaruki are widely available brands). Ready-made koji skips the 48-hour koji-growing process entirely. You rehydrate the dried koji briefly before mixing with your cooked soybeans and salt. Growing koji from spores is only necessary if you want full process control or are making very large batches.
- What container should I use to ferment miso?
- A food-grade ceramic crock, glass jar, or food-safe plastic container all work. The container must be non-reactive (no bare metal), large enough for the miso plus 20% headspace, and have a wide mouth for packing and weighting. A 2-liter wide-mouth glass jar suits a 500g soybean batch. Traditional Japanese miso is fermented in wooden barrels (taru), but these are impractical for home batches. Avoid narrow-necked containers — you cannot pack miso tightly through a small opening.
- Is the white growth on my miso dangerous?
- Usually no. White surface film on miso is almost always koji mycelium continuing to grow, or a harmless yeast film. Scrape it off, wipe the container walls with a clean cloth dampened with shochu or vodka, re-cover the surface with plastic wrap pressed directly onto the miso, and replace the weight. Dangerous mold is typically colored — green, black, pink, or orange fuzzy growth with a musty or chemical smell. If colored mold has penetrated more than 1cm into the paste, discard the batch. Surface-only colored mold can be scooped off with a 2cm margin and the remaining miso is safe.
- Why does my homemade miso taste too salty?
- Three common causes: (1) the miso is still young and needs more fermentation time for the salt to integrate — red miso in particular tastes aggressively salty before the 6-month mark; (2) the salt percentage is too high for the style — check that white miso uses 5-6% and red miso uses 10-13%; (3) you measured salt by volume instead of weight, which can add 20-30% more salt than intended because fine salt packs denser than coarse salt. Always weigh salt on a kitchen scale. If the miso is simply young, give it 2-3 more months before deciding it failed.
- What is the difference between white miso and red miso in terms of making them?
- The process is identical — soak, cook, mash soybeans, mix with koji and salt, pack, ferment. The differences are in ratios and time. White miso uses more koji (1:1 soybean-to-koji ratio), less salt (5-6%), and ferments for only 4-8 weeks. Red miso uses less koji (1:0.6 ratio), more salt (10-13%), and ferments for 6-12 months. Red miso soybeans are sometimes steamed rather than boiled, which produces a darker color through Maillard reactions. The salt difference is not just flavor — higher salt in red miso prevents the rapid fermentation that white miso relies on.
- Can I use chickpeas or other beans instead of soybeans for miso?
- Yes, with adjusted expectations. Chickpea miso produces a lighter, slightly nuttier paste that works well as a 4-8 week white-style miso. Black beans, adzuki beans, and split peas all produce edible fermented pastes. The protein and fat content differs from soybeans, so the flavor profile and texture will be different — not wrong, but not traditional miso. Use the same koji ratios and salt percentages as you would for soybean miso. Chickpea miso is the most popular alternative and the most forgiving for beginners.
- Do I need to sterilize my equipment before making miso?
- Full sterilization is unnecessary — miso is a salt-preserved ferment, not a sterile culture. Clean everything thoroughly with hot soapy water and rinse well. Wipe the inside of your fermentation container with shochu, vodka, or food-grade ethanol (35%+ alcohol) before packing. Your hands should be clean but do not need to be gloved. The 5-13% salt concentration in miso suppresses most harmful bacteria. The main contamination risk is on the exposed top surface, which is why proper covering and weighting matters more than sterilizing every utensil.
Where to go next
- What Is Miso — types, uses, buying guide, and how miso fits into Japanese cooking
- White Miso vs Red Miso — detailed comparison of flavor, salt, fermentation time, and cooking applications
- How to Make Koji — grow your own rice koji from spores for maximum enzyme activity in your miso
- What Is Koji — the organism behind miso fermentation: enzymes, biology, and why it matters
- How to Use Miso — miso soup, marinades, glazes, and dressings with your homemade batch
- Fermentation hub — the full landscape of Japanese fermentation at home
- Fermentation Mold Safety — color-based mold identification for miso, koji, and other ferments